This is a backyard renovation project in the Sellwood District of SE Portland that we completed in early September. Normally, we post pictures of the finished project, with maybe a picture from before we started work, but we decided to do things a little bit differently this time. A lot of details are involved in putting together a quality landscape project, so we took pictures of this project as it went through the different stages leading to completion.
This project involved transforming a boring backyard into am inviting and functional outdoor living area. When we started, the highlights of the yard included wood chips and old concrete. There really wasn’t much to write home about when we began, but over the course of a month, we transformed this dull area into a beautiful outdoor living space. The wood chips are gone, the concrete has been removed, and in their place we have installed a large paver patio with raised planting areas and a water feature.
The highlights of this project include:
- A textured concrete paver patio: We used two paver sizes to create a patterned patio area. The pavers are concrete, but are textured to resemble slate. We used a color blend that has some slightly warmer tones in it to soften the area and add some color contrast. Runoff from the patio is diverted into a series of pre-manufactured dry wells (flo-wells) to manage the water on site.
- A stacked stone wall: The edge of the patio blends into a stacked stone wall that contains a large planting area.
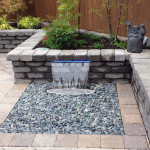
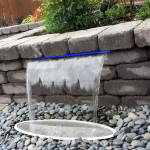
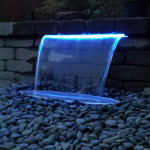
- A water feature: A waterfall cascades from the stone wall, complete with blue LED lighting effects. The water feature includes an autofill valve and an overflow drain to make it as easy to manage as possible.
- A privacy screen: A large wooden screen provides privacy for the hot tub area and outdoor shower. The screen was built with 6×6 pressure treated posts and stained 2×6 cedar boards.
- A dog run area: The fence was extended along the side of the house, and a new gate added for access. The dog run area is contained with pressure treated lumber and filled with pea gravel so it can be hosed out more easily.
- Irrigation: The plantings are watered by a Rain Bird drip irrigation system for maximum efficiency. We installed an easy-to-use Rain Bird ESP-RZX irrigation controller. We also installed a new double check backflow device for the current and future irrigation needs.
We have included two photo galleries – On that shows the finished project, and one that shows the project in varying stages of completion.
Here are the final pictures of the project:
- The view from the back porch.
- The Water Feature built into the sitting wall.
- A closer view of the water feature.
- Notice the clean edges on the patio!
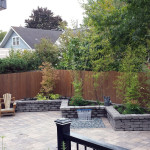
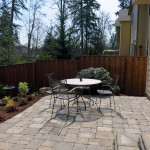
- Another overview of the project.
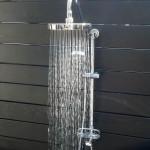
- A luxurious outdoor shower.
- The LED Fountain at dusk.
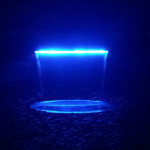
- The LED Fountain after dark – there are also several other colors options available.
Here is a gallery showing the project as it progressed from the beginning to just before completion:
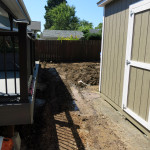
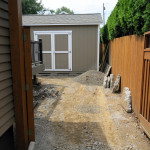
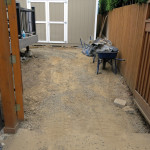
- The side entrance to the back yard. Although it is muddy from equipment, you can see that it is still just a concrete slab.
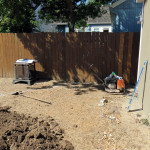
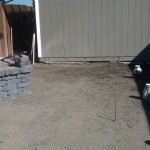
- A view of the end of the concrete entry area looking toward the main part of the back yard.
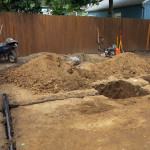
- The wood chips are gone, the lines for the wall have been painted on the ground, and the area is being graded for the pavers.
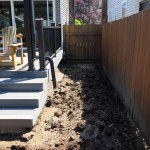
- The side yard, which will be transformed later.
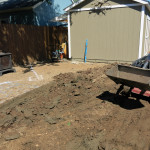
- A lot of work goes into making sure that paver patios are level. Here, we are just starting to move soil around and prepare the area.
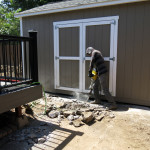
- The concrete is being removed with a jackhammer. Good things are on the way!
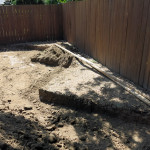
- The outline for the wall footings has been cut and dug out.
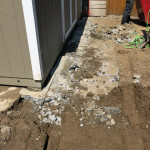
- The concrete has been broken up, and is being removed from the area.
- The concrete is gone!
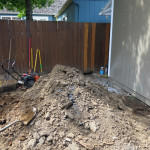
- You end up with a lot of extra dirt when excavating for paver patios and stone walls…
- A lot of water can run off of a patio, so we installed flo-wells to capture and manage the runoff. You have to dig big holes for these things!
- Not much has happened here in the past week, but you can see how much traffic this area gets as we work on the rest of the back yard!
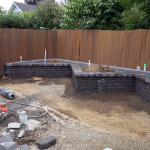
- The wall has been installed! You will also notice that the water and power for the irrigation and water feature have been placed as well.
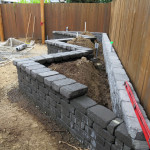
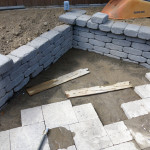
- Another view of the wall. The top cap has not quite been finished, but everything has been leveled and squared.
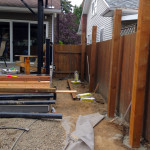
- The side yard has been dug out as well, and the posts for the privacy screen have been placed (not painted yet though).
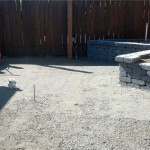
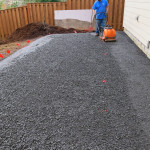
- The grading has been done, the gravel is down, and everything is finally ready for pavers.
- Another view of the graded patio area.
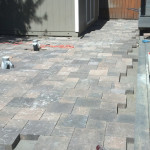
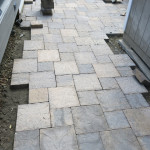
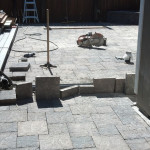
- The pavers have been placed in the entry area. The edges have not been finished yet.
- The patio is coming along nicely. About 2/3 of the pavers are down, and the edges will be finished later.
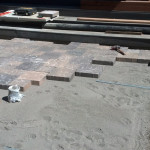
- This view of the paver patio shows the layers involved. You have a compacted gravel layer, a sand layer, and the pavers on top of all of it.
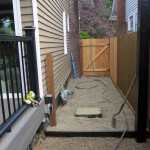
- Progress on the side yard! The end of the fence has been removed to make way for the extension and new gate, the retaining boards are in, and landscape fabric has been installed.
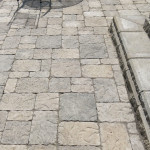
- This section has been done for a few days, but this picture really brings out the pattern and color range of the pavers.
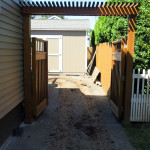
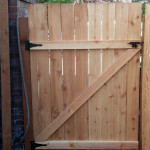
- The fence has been extended, the new gate has been installed, and the pea gravel has been placed. Also, the screen supports have been painted black.
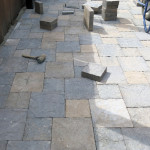
- This is that same section of patio that was shown unfinished on August 28th. Notice how nicely the edge has been finished!
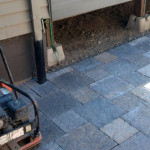
- When you run into a hard edge, you have to start cutting pavers to fit. We had to cut a lot of pavers to fit against this wall…
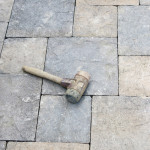
- An ode to our trusty brick mallet. It has served us well…
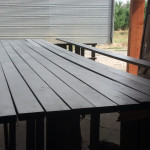
- Staining 16 foot long 2×6 boards is somewhat of a challenge, but we made it work.
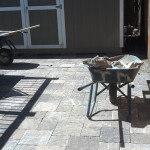
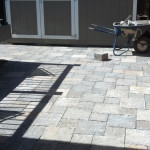
- The entry way, with the edges finished.
- Another shot of the entry, showing the texture of the pavers and the clean edge of the patio.
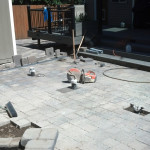
- Looking into the back yard, you can see that the edges are finished and the patio is almost done. The pavers standing on end have been removed to make way for a channel drain.
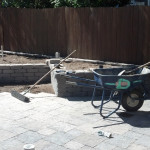
- The patio and wall, together at last! The unfinished area is where the water feature will be installed.
- A shot of the patio from the wall.
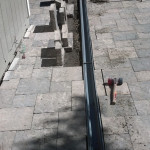
- Installing a channel drain to catch water from the patio. This area will eventually be an outdoor kitchen.
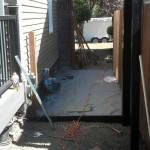
- Some gates are easy, others are tricky. This one was a bit tricky, but we made it work!

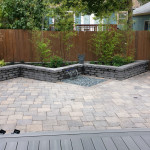
 Welcome to 2014! 2013 was a busy year at John Darby Landscape, Inc., and we want to thank all of you that we had the opportunity and privilege to work with last year. We are looking forward to another great year in 2014, and wanted to remind you all that landscape projects in our region can generally be done at any time of the year (with some exceptions for polar vortexes and hurricanes, but those are fairly unlikely). As we move toward the spring and summer season however, our calendar fills up fast, and we sometimes have to delay new projects by several weeks during the busier months.